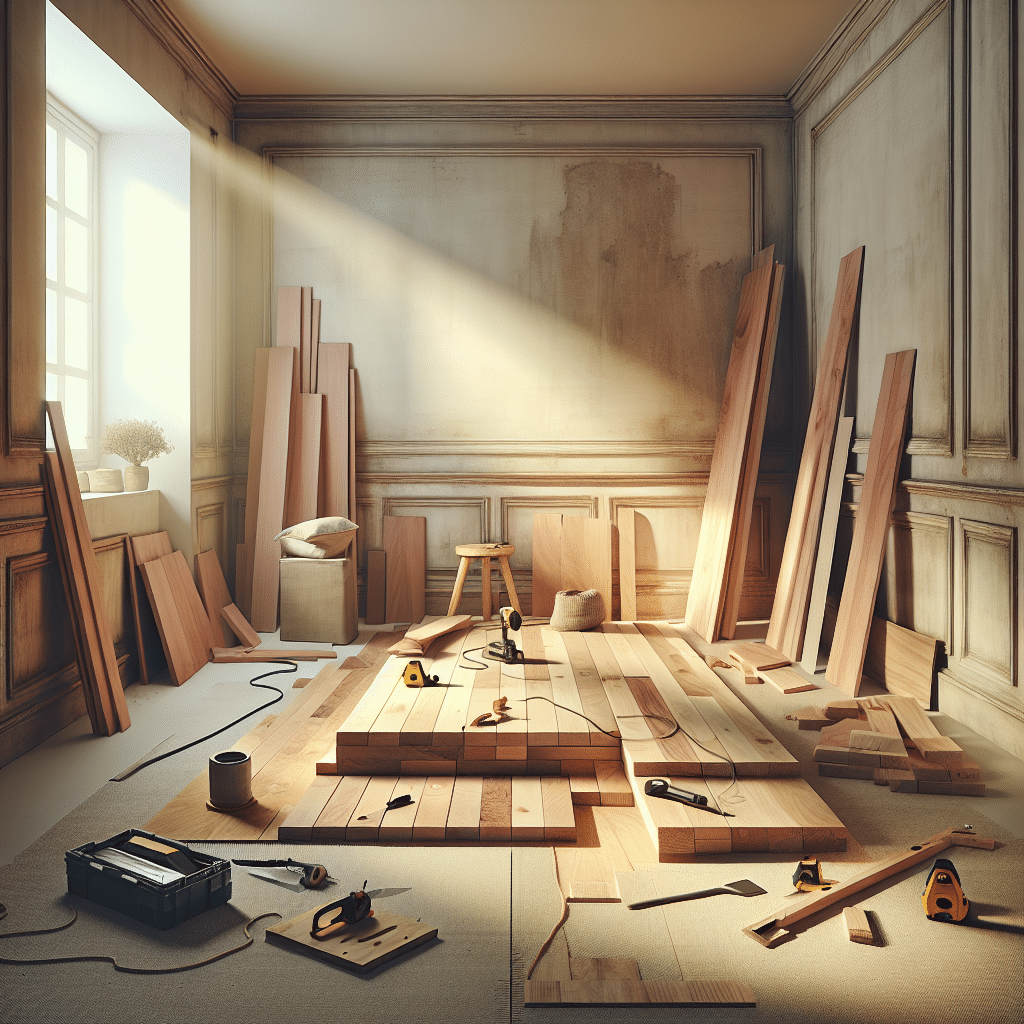
Transform Your Space with DIY Flooring Renovations Tips
Are you tired of staring at your dated floors? Dreaming of a remodel but worried about the costs? Guess what? With a bit of effort and creativity, you can transform your space with DIY flooring renovations! Not only can you save on labour costs, but you’ll also enjoy a personal touch that truly reflects your style. Let’s dive into some practical tips and tricks to get you started!
Choosing the Right Flooring Materials
Before diving into renovation, the first step is choosing the right flooring material. There’s a plethora of options available, each with its own set of advantages:
- Laminate Flooring: Affordable and easy to install, laminate mimics the look of hardwood without the hefty price tag.
- Vinyl: This is a water-resistant option that’s perfect for kitchens and bathrooms.
- Engineered Timber: Offering the elegance of solid wood, engineered timber is also more stable and can handle varying temperatures.
- Ceramic Tiles: Ideal for those seeking durability, tiles come in a variety of designs and are exceptionally easy to clean.
Remember to consider your lifestyle. If you have kids or pets, durability may be a priority. If you’re aiming for luxury, engineered timber may be the way to go.
Preparation is Key
Before you start, preparation is essential. Here’s what you should do:
- Clear the Area: Remove all furniture and existing flooring (if applicable). A clear workspace helps when it comes to measuring and laying down new flooring.
- Clean the Subfloor: Ensure that your subfloor is clean and dry. Any imperfections can affect your new flooring.
- Measure and Plan: Measure your space carefully to determine how much flooring material you’ll need. It’s always good to add around 10% extra for waste.
While preparing your area, you may generate some waste. For a hassle-free cleanup, consider hiring Brisbane South Skip Bins. With services available across Brisbane, Logan, and Ipswich, they ensure you can dispose of your waste responsibly. Trust me; you won’t regret opting for a skip bin during your DIY project!
Installation Methods to Consider
Now that your area is prepped and ready, it’s time to think about installation. Different materials will have different installation methods, so let’s break it down:
- Floating Floors: This is the easiest option for DIYers. The planks click together and “float” over the subfloor without being glued or nailed.
- Glue-Down Method: Great for vinyl and some types of tiles, this method involves applying adhesive to the subfloor before placing your flooring, leading to a more permanent installation.
- Nail or Staple Down: Perfect for hardwood or engineered timber, you’ll need a nail gun or s staple gun to fasten your flooring securely.
- Click Lock Installation: Perfect for laminate and some vinyl options, this method involves snapping pieces together, making it a user-friendly option for novices.
Whichever method you opt for, make sure to follow the manufacturer’s guidelines closely to ensure a flawless finish!
Finishing Touches That Make a Difference
Once your floors are down, it’s time for the finishing touches. Here’s where you can really let your creativity shine:
- Baseboards and Trim: These are essential for a polished look. Choose styles that match or contrast beautifully with your flooring.
- Area Rugs: They can add warmth and texture to a room! Plus, they are perfect for deciding how to use different spaces.
- Furniture Placement: Experiment with different furniture arrangements to bring out the best in your new flooring.
And don’t forget, a good cleaning session after installation can make your floors pop and leave a lasting impression on your guests!
Care and Maintenance
Congratulations! You’ve successfully completed your DIY flooring renovation! But the work isn’t over yet. To keep your floors looking pristine, you’ll need to follow some care and maintenance practices:
- Regular Cleaning: Sweep or vacuum your floors frequently to remove dirt and debris.
- Moisture Control: Avoid excessive moisture, especially for wood and laminate. Always clean spills immediately!
- Use Protectors: Place pads under furniture legs to prevent scratches and dents.
By taking care of your flooring, you’ll not only prolong its life but also maintain that fresh, new look.
Final Thoughts
Now that you’re armed with tips for your DIY flooring renovation, the possibilities are endless! Remember, the key is to take your time and enjoy the process. With a little creativity, some careful planning, and the right materials, you can completely transform your space while saving money in the process.
And, if at any point you feel overwhelmed by the amount of waste generated, don’t hesitate to reach out to Brisbane South Skip Bins. They’ll ensure that your project remains stress-free, allowing you to focus on the fun side of renovation.
Happy renovating!
About Brisbane South Skip Bins
Brisbane South Skip Bins offers comprehensive Skip Bin Hire Services for local household, Industrial, and commercial clean up. Affordable Skip Bin Hire – Brisbane South, Logan, Beaudesert and Ipswich
We can help you get rid of all types of unwanted rubbish, making the removal process easy, and saving you from having to load up trailers and make multiple trips to the rubbish tip.
Whether you’re renovating, landscaping, or doing a garden cleanout, we can take care of all your waste materials and unwanted items.
Our skip bins come in a range of sizes to accommodate all your removal needs.
Talk to Mick 0466 776 314 for help choosing the right type skip bin for your needs and save you money.
https://www.brisbanesouthskipbins.com.au/
#skipbinhirebrisbane #skipbinhirelogan #skipbinhirebeaudesert #skipbinhireipswich


